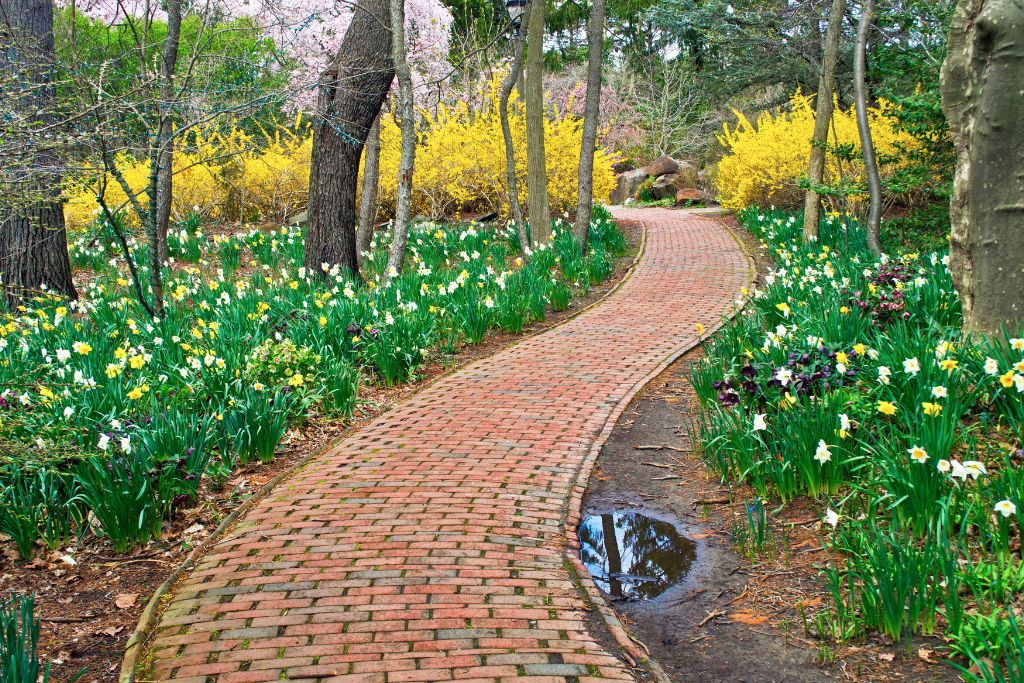
Your garden is probably your favorite place in your house. It’s a place where you can relax, unwind, and enjoy nature—all while getting some much-needed green thumbs on. Although it’s tempting to just let it grow wild and free, a well-kept garden is much more than that. A well-designed garden implies an aesthetic beauty as well as a sense of serenity and tranquillity. A good path not only makes it easier for you to navigate through the greenery but also adds to its aesthetics by providing a visual line that goes from one end of the garden to the other. A path is a great way to frame your garden and make it look even more attractive. Building a garden path rather than buying one will definitely be cheaper for you in the long run if you have space constraints or are just looking to cut down on costs.
What do you need to build a beautiful garden path?
You will need a level, flat area that is at least 10 feet wide and 3 feet tall. Then you’ll need a 4 x 4 piece of pressure-treated lumber that’s 1/2 inch thick and 18 inches wide and long. You can use whatever type of lumber you have, but the size must be suitable for your needs.
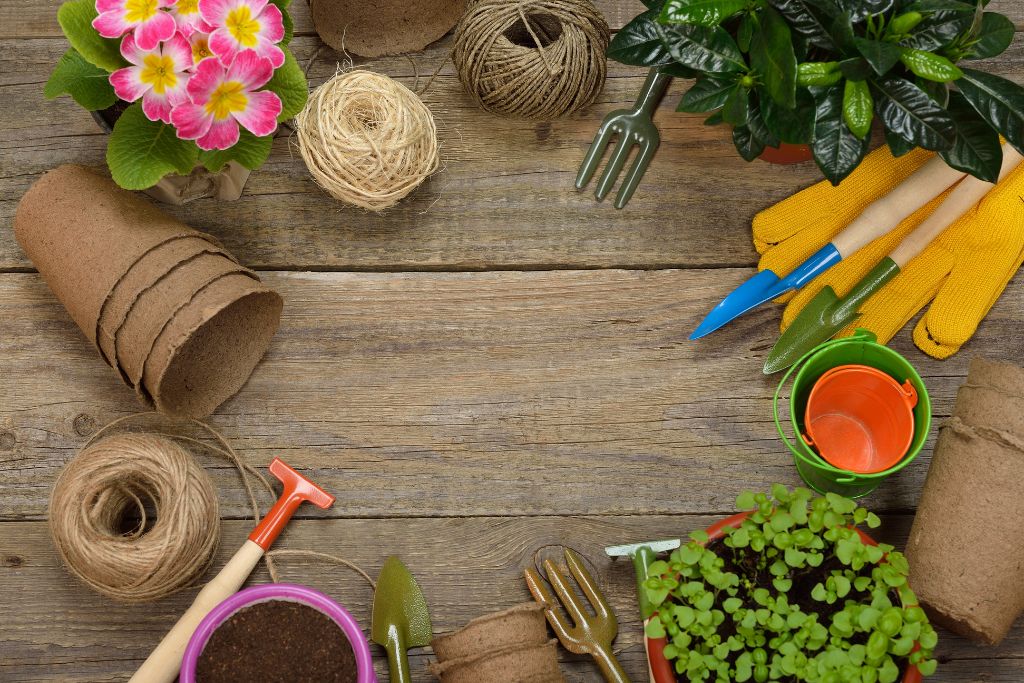
Planning tools
Once you have an idea of the type of garden path you want to create, you will need to start planning the steps. By planning ahead and using these tools, your garden path will be more beautiful and efficient than it would be with only trial and error.
1) Use a leveler to make sure that the path is even across the entire length of the garden.
2) Gather depth measurements for each step in order to ensure that all the steps are at a similar height.
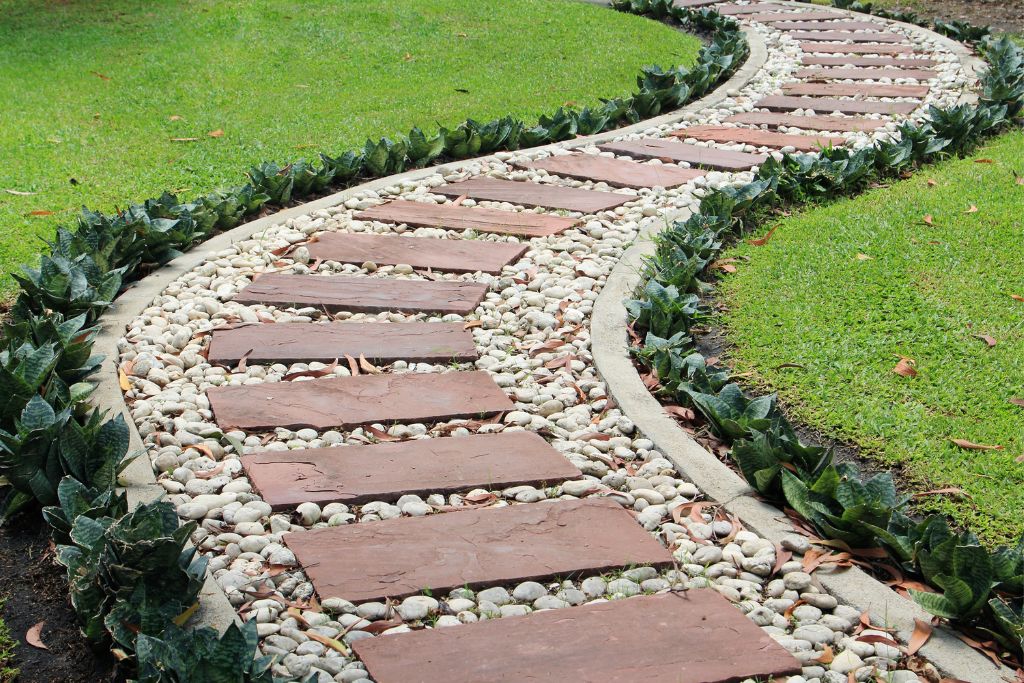
3) Choose a variety of textures for your steps; sandstone or brick pavers, gravel, and wood planks are great options.
4) Consider color schemes and materials; whether you want something bold or calming, there are plenty of colors and materials available to choose from (think blush pink or black).
5) Utilize plants as decoration in your garden path; they add color, vibrancy, and life to any space.
Materials for Building a Garden Path
You will require specific materials to construct a garden path, such as:
– Dirt (either purchased or dug up from the backyard)
– Water (to dig in)
– Gravel
– Garden hose
– Plastic sheeting or tarp material
– Bucket or wheelbarrow for carrying dirt and gravel
– Shovels for digging holes for hoses and planting seeds A good rule of thumb is that if you’re buying materials, it should cost less than $30. The number of materials needed will vary depending on the size of your garden. Typically, a 10 x 20-foot garden will require between 30 and 40 bags of dirt.

Safety Tips
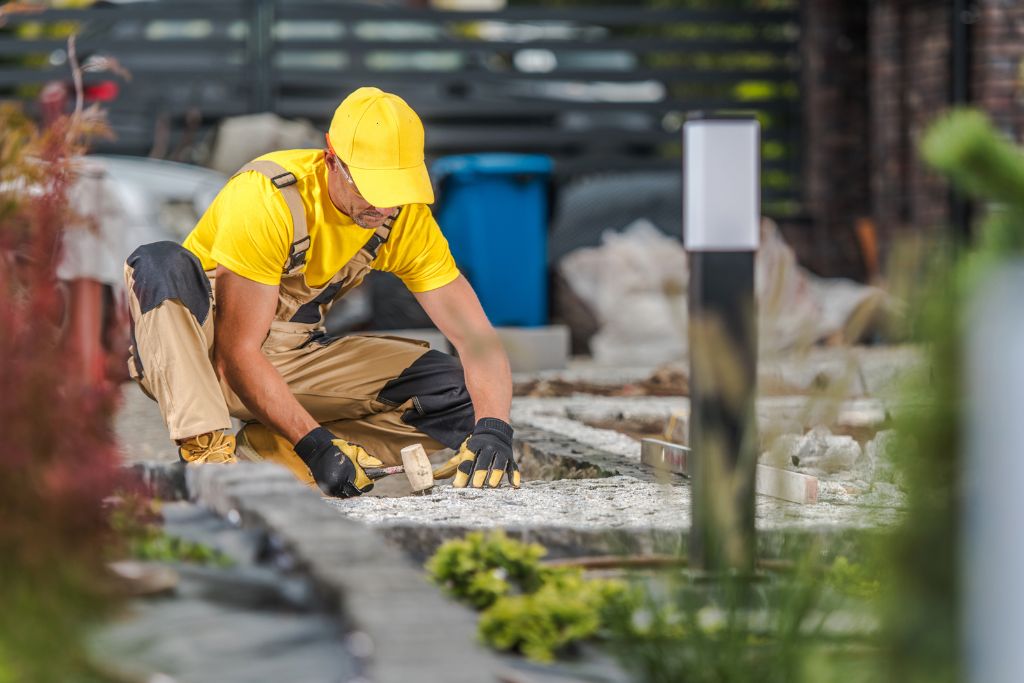
For building a garden path If you’re going to be cutting down on costs by building your own path, there are still some safety tips to keep in mind. Avoid using power tools and heavy machinery around plants. Instead, use a hand tool and take your time. Ensure that the ground is level by rolling out small stones or gravel before beginning the construction.

Otherwise, this could cause unnecessary stress on the plants surrounding the garden path. Make sure you have good drainage around the area where you are working. This will prevent water from pooling up and ruining your work. If you use natural materials, such as branches or logs, be sure to use non-toxic preservatives to prevent insects from taking residence on them. This will also keep the bugs away from your flowers and vegetables.
Designing Tips
1. Choose suitable materials. In order to make the garden path last, you need suitable material. The most common materials are wood and concrete, but there are many other options that you can choose from. It’s always best to go with what your budget will allow as well as what fits your aesthetic best.
2. Make sure its level A level path is easy on your feet and will provide a better visual experience overall. Whether you want to create a level path in between two steps or along the edge of a raised bed, this is something that should be done before anything else.
3. Make sure it’s comfortable. This is an important consideration because if people have to walk up steep inclines or over hard surfaces, their feet might hurt after just a few minutes of walking on them all day long. Make sure your garden path is gentle and soft so that people won’t have any problems traversing through it for hours on end every day.
4. Select a design that fits your needs. Take some time to get an idea of how you want your garden path to look before buying any materials or designing anything yourself. You can use this knowledge to buy things you need at your local hardware store or take out a sketchbook and design in pencil first before moving on markers and paint later down the line.
Step-by-Step Instructions
Building a Beautiful Garden Path The first step in building your garden path is to decide what type of material you want to use. This is the most important step since it will determine the amount of time and effort it will take to build your own path. You can use many different materials, but if you don’t have a lot of time or money, wood can be an excellent option.
Next, lay out your chosen material on the ground where you want to place your path. Mark out with stakes where there are gaps in your design or what areas will need additional support for weight distribution and stability.
Next, start securing the edges of your chosen material using stakes around certain points along the way that would need extra support for weight distribution and stability. It should be noted that this step is not necessarily necessary if you are using wood as a material—just make sure it’s secure enough to support itself without any additional support from stakes or other methods. It should also be noted that some garden paths run along walls or under windows, so remember to leave adequate space between these elements when constructing your garden path (i.e., 2 feet).
Front-facing windows might require a little more space than back-facing windows since they tend to get hit by rainwater more often and therefore may experience higher levels of water damage than back-facing windows. Once you have completed all steps in this process, it’s time to get started by filling in.
Final Words
Some of these steps might seem like a lot to take on, but they’re all worth the effort. Once you get started, it will be easy to carry on and make your garden path a reality. The first step in planning and designing your garden path is to draw out a rough sketch of what you want it to look like. Make sure that the design is laid out with trees, shrubs, and flowers that will grow well in your yard.
Next, check your local nursery or garden center for any plants that match up with your design. Next, place some soil and mulch around the base of each tree you’ve planted to allow the roots to spread evenly throughout the ground. Also, remember to consider placing lightning rods close to each tree!
A handy tip: if you’ve got stone stairs leading from one side of your garden to another, consider using them as part of your path so that visitors won’t trip over anything. After that, place your desired shrubs and flowers in their desired locations. Don’t forget to add enjoyable decorative elements like stepping stones or footrests along the way!